It's always nice to wake up to be a feature in a published article. Check out my interview in Voyage Chicago http://voyagechicago.com/interview/meet-karen-fiorino/
Your Custom Text Here
It's always nice to wake up to be a feature in a published article. Check out my interview in Voyage Chicago http://voyagechicago.com/interview/meet-karen-fiorino/

A small experiment may lead to something new....
Read moreOne of the most common questions I'm asked is, " How long does it take you to make your pottery?" Usually, I answer, "One and a half months on average." In this little essay, I'll break down the steps it takes to create one of my pottery bowls.
Step 1: Get the clay out of the box and wedge to get the particles of clay in alignment - it makes it so much easier to throw on the wheel.
Step 2: Center and throw a basic bowl shape. It may look easy now, but I had a good, hard year of practice just to center some clay on the wheel head. (Centering: definition - to get the clay symetrically situated on the wheel head, so one can start pulling the clay up and out with ones hands. Okay, it's sort of hard to describe the action - easier with photos. My instructor gave me the basics and said I needed to practice and practice until I got the action down.

Step 3: Cut off the wheel head and set on the ware board to dry to a leather hard stage. This will take either overnight, one afternoon in the sun, a couple days in high humidity and really wet clay - it depends, and with experience, knowing your time frame and utilizing the ambient atmosphere, I can judge about how long it will take.
Step 4: When leatherhard, return the bowl to the wheel, turn it upside down, recenter on the wheel and trim the excess clay on the bottom to create the foot ring. Being careful not to trim down too far breaking through the clay.
Step 5: Let dry to bone hardness. The bowl should be nice and dry, so when it's bisque fired the water inside doesn't turn to steam and blow up the piece in the kiln. Yes, I have done that - usually when I am rushed (find photo of broken stuff) A bisque firing takes about 18 hours in my kiln - 4 hours at a candling at 150 degrees F to start, making sure any moisture to dried out in the pieces.

Step 6: Let the kiln cool down about 24 hours to unload. I time my firings so they happen overnight, in the winter the heat radiating out warms the studio, in summer the heat helps rid the studio of humidity - in other words, I use the heat to dry out work to the leatherhard stage and plan accordingly.
Step 7: Dip the bisqued bowl in the white majolica base glaze. Let it dry overnight.

Step 8: Start decorating using my Mason stain/frit solutions. The colorants are painted on the raw white surface as thick or as thin as I want, remembering that each brush stroke action shows on the surface. The time spent on each piece is proportional to the amount of detail of the design.
Step 9: Reload the kiln with the glazed pieces. Fire again. This firing takes about 8.5 hours with another 24 hour cool down.
Step 10: Unload and examine the work.

Of course, I'm not just doing one bowl at the time, but making my work in cycles. I'll have a throwing cycle, creating a variety of shapes and loading up the kiln 2-3 times firing a lot of bisqueware. (photo) When my bisque shelves are filled, I'll start to glaze and decorate, firing the kiln 3-4 times restocking my finish ware shelves.

On top of the act of creating, there are other chores that take time and are essential to the functioning of the studio: recycling the scrap clay for reuse, mixing of glazes, photographing work for online selling, packing of work for art fairs (at least 2 days, plus the time at the show) and other issues that may come up.
I hope this give you a little insight in what it entails in the creation of one of my pieces. If you do ask for a custom piece, depending where I am in the cycle of work, it may be quicker but usually month and a half is a good rule of thumb...now back to "git 2 werk", as one of my buddies tells me.
Hello! Did you ever finish a successful project and then eventually have it be the start of another one? Last November, a friend and I were discussing coloring books and how they are a big hit. Both she and I came up with our own visions of designs, with mine being more in the mandala vein. We launched our books before Christmas and both were successes with our distinct patrons.
Recently, I published a second edition Meditative Mandalas with 5 bonus drawings and in the meanwhile while seeing the original drawings again, thought it would be a fun idea to recreate in full color the patterns on my large bowls and platters.
Armed with my one-sided paper print outs, a stack of 20 or so designs are lodged in my studio waiting to find the perfect piece to meld themselves.

It starts with a pencil drawing, sketching out the basics of the design.
After the basic grids lines are laid down, I start visualizing the colors in my head and apply the Mason stains on the raw white majolica glaze base.

Little by little the colors and lines come together. With black as the last major color applied. The white lines are carved back to the white base glaze.

Finished! (except for firing) The outside of the bowl is just as detailed.
Of course, once I started this, I had to create others from the book.

A sort of bird themed mandala.

Hexagonal flowers on a large platter

Hello! How are you all doing? What do you think about during the shortest month of the year? I get a lot of alone time thinking in the studio, especially when throwing bowls. Today, while musing about what can I tell you about the process, I looked down and saw this - a bowl direct center with rays of sunshine emanating from the piece. Then it hit-- this drab, messy, monochromatic and very soothing, methodical time of throwing work is just the beginning of a process that ends in something very colorful. Like a caterpillar metamorphosing into a butterfly.
But it takes time and right now in the studio it is slow going. Pieces are taking their own sweet time to dry.

Like for instance, I'm working on a large tile project. It takes a long time for the individual pieces to dry so the tiles do not warp. During this time, my space to work is limited to the edges of my work table.
Seems like the message of "Going Slow" is showing up all over today. In the Facebook Group, Clay Buddies, a post came up of go slower and be more efficient, have less mistakes and actually work faster.
Going to the post office over lunch, "Going Slow" kept me from wrecking the car. Let me give you the back story: Post office, 3 miles from house, all large hills. It's snowing, but not necessarily hard at house, first mile of road clear, next two (which are on steep hills) not so clear and the flakes are falling heavier....and the road is getting covered. Cresting the hill, I see a stalled car, slowly I manage to go around, seeing if there was anyone inside (no), and start to fish-tail. After fish-tailing twice, I make it to the post office, drop off packages and prepare for the return trip. Very, very slow - like 15 mph for the two miles up and down the hill. But I made it safe and can type this story.

** I would have loved to take a photo of the crest of the hill into Makanda, but considering I was driving it wouldn't been safe, here's a view of what I was driving through from my house.**
Hello all! The wood stove in winter is perfect excuse to make small and fun little critters. Here's a batch I did recently. Maybe you will be inspired to do your own!
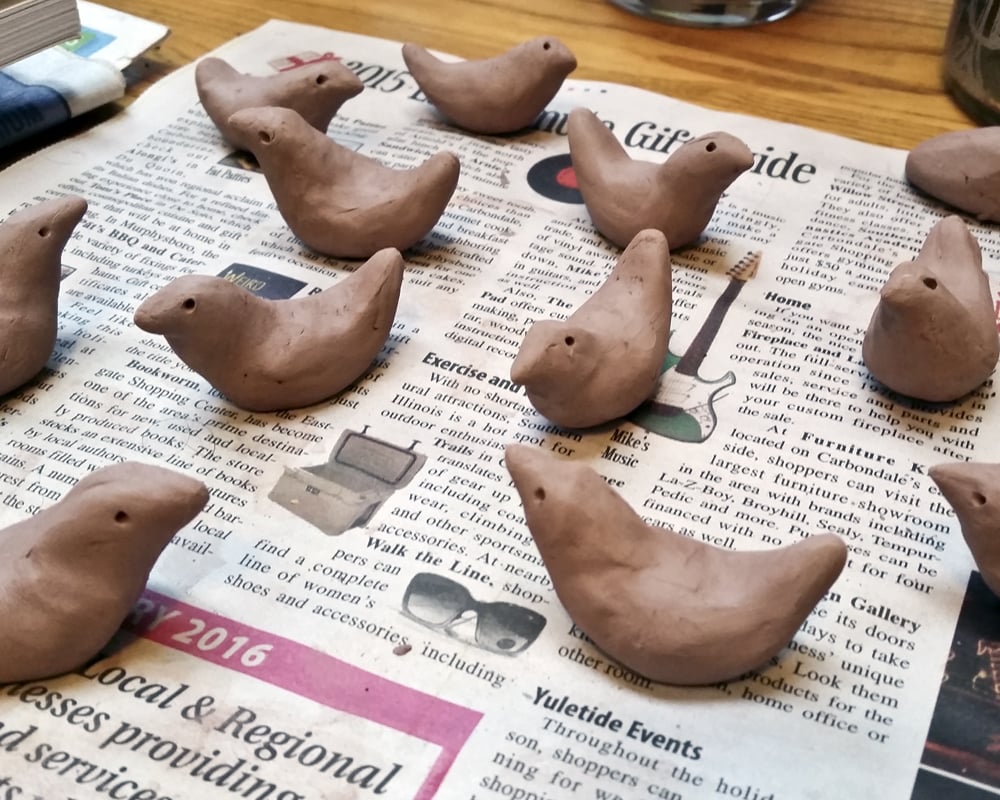
Lots of bone dry red earthenware clay birds. I quickly formed and smoothed the bird shapes, creating the eye hole with a small metal probe.
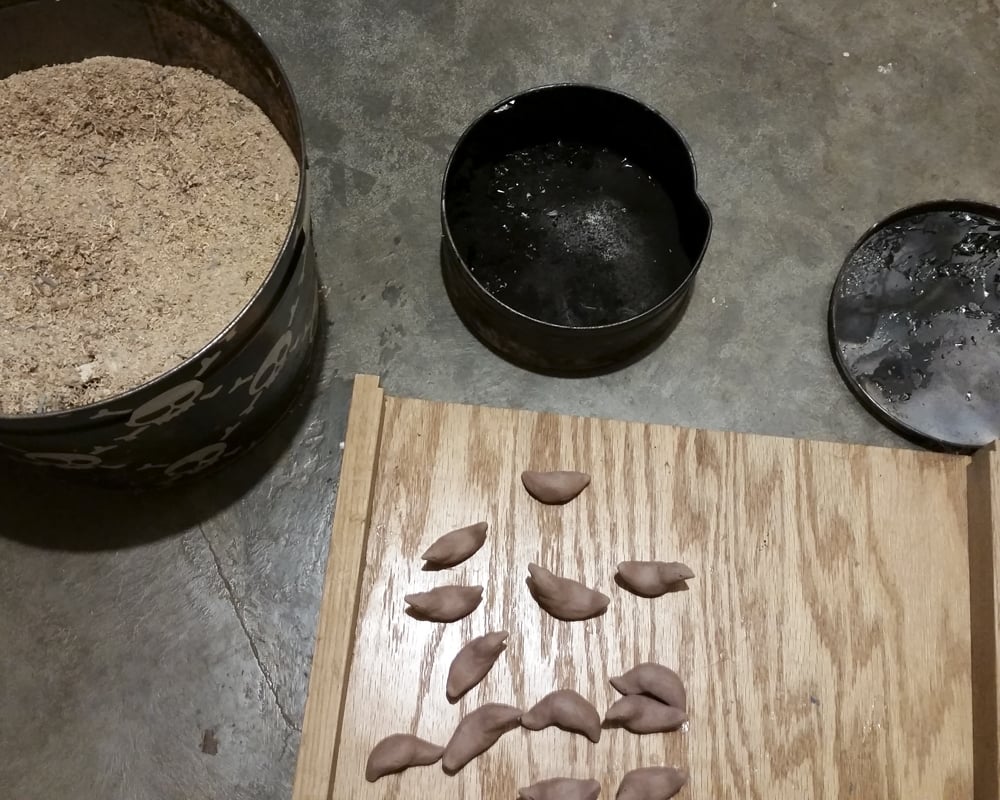
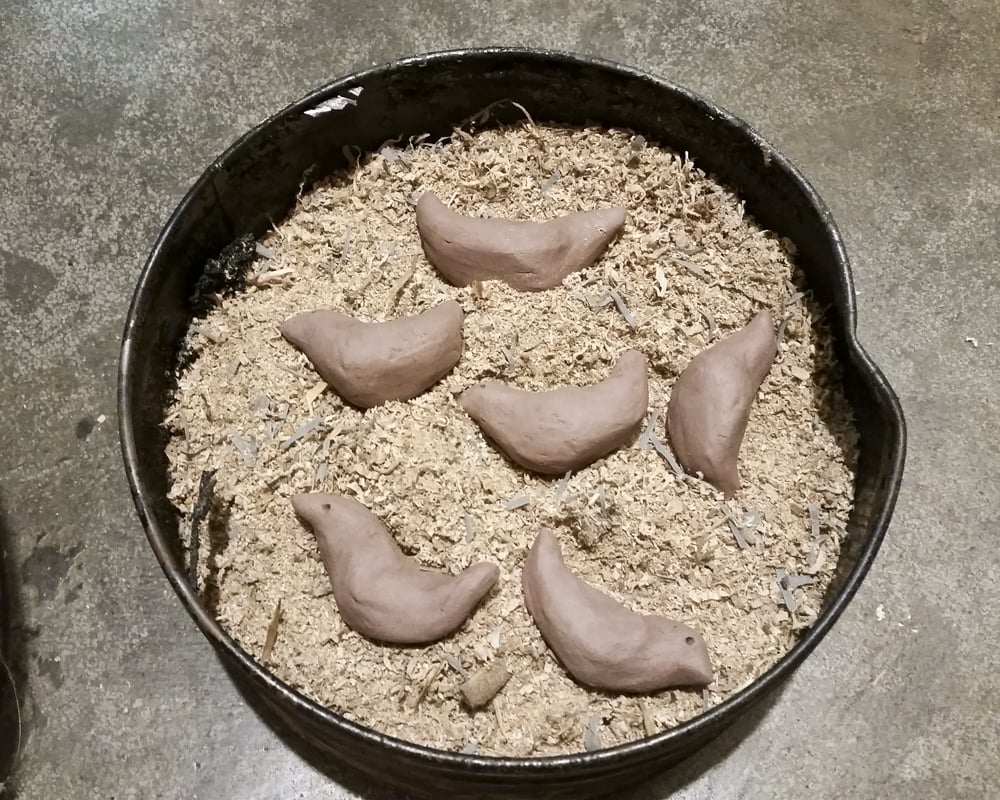
Gather your tools together: Sawdust, metal tin and figurines. My tin is just a recycled cookie tin - it's black from a previous use in a firing.
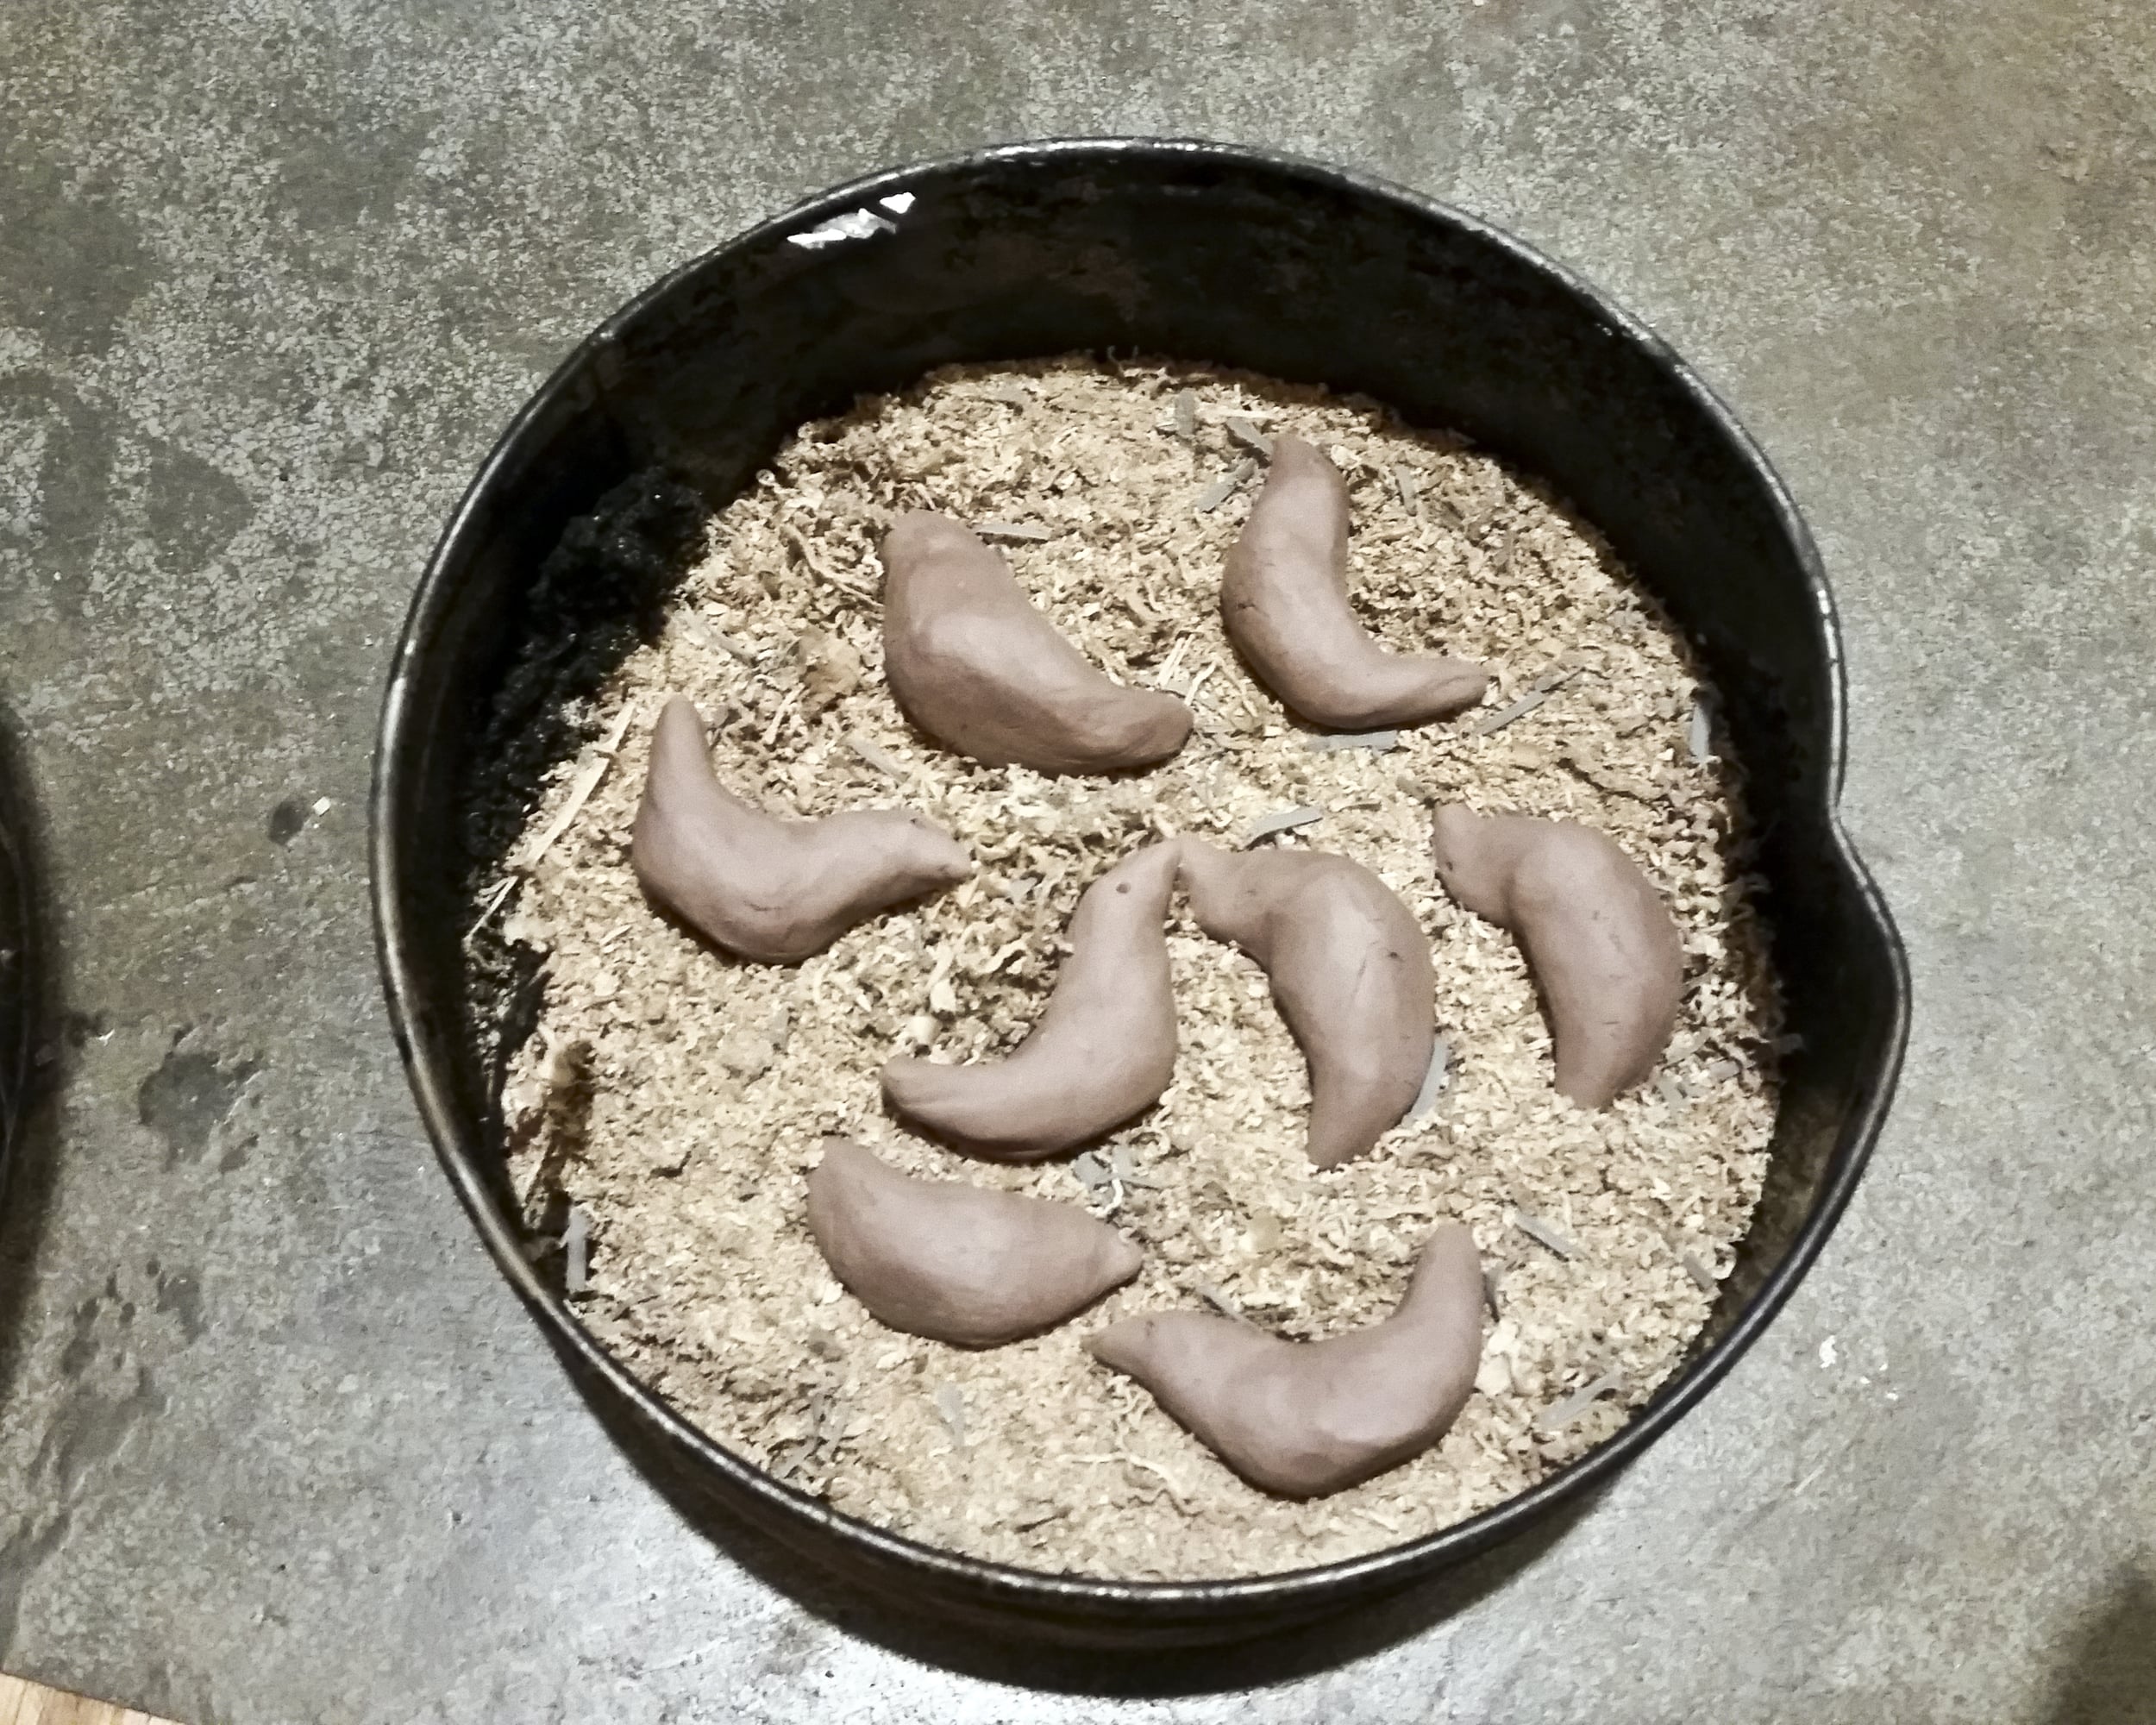
Layer sawdust on the bottom and arrange a group of birds on top.
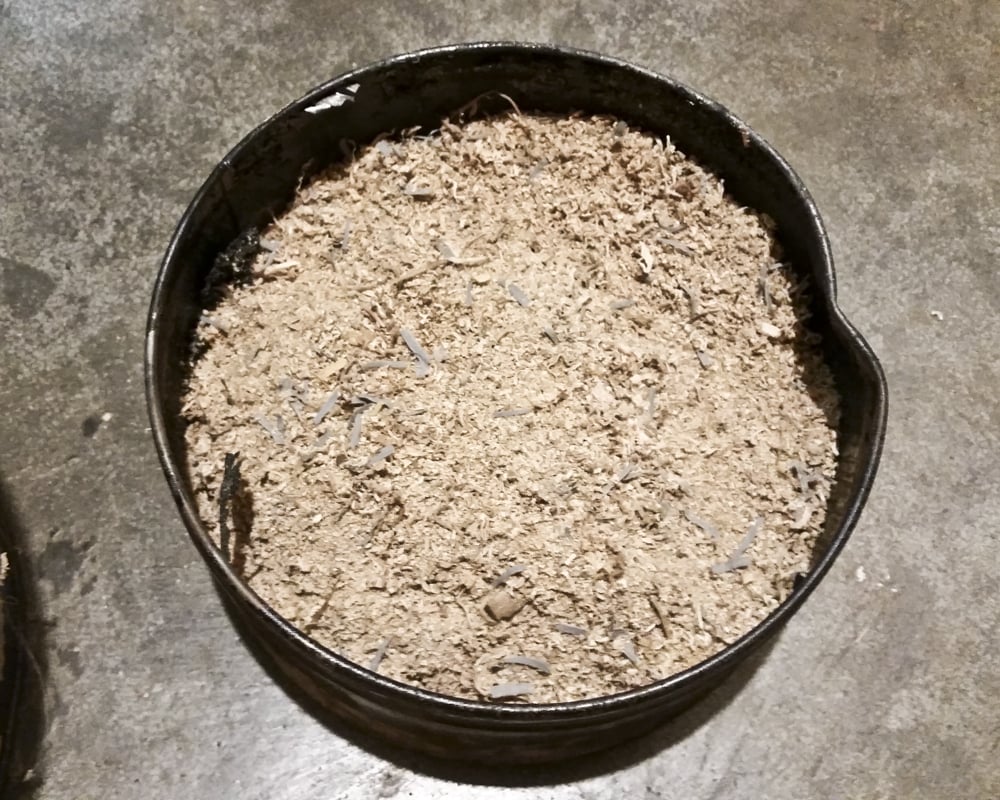
Cover the clay birds with another layer of sawdust.
Put the remainder of clay birds in the sawdust.
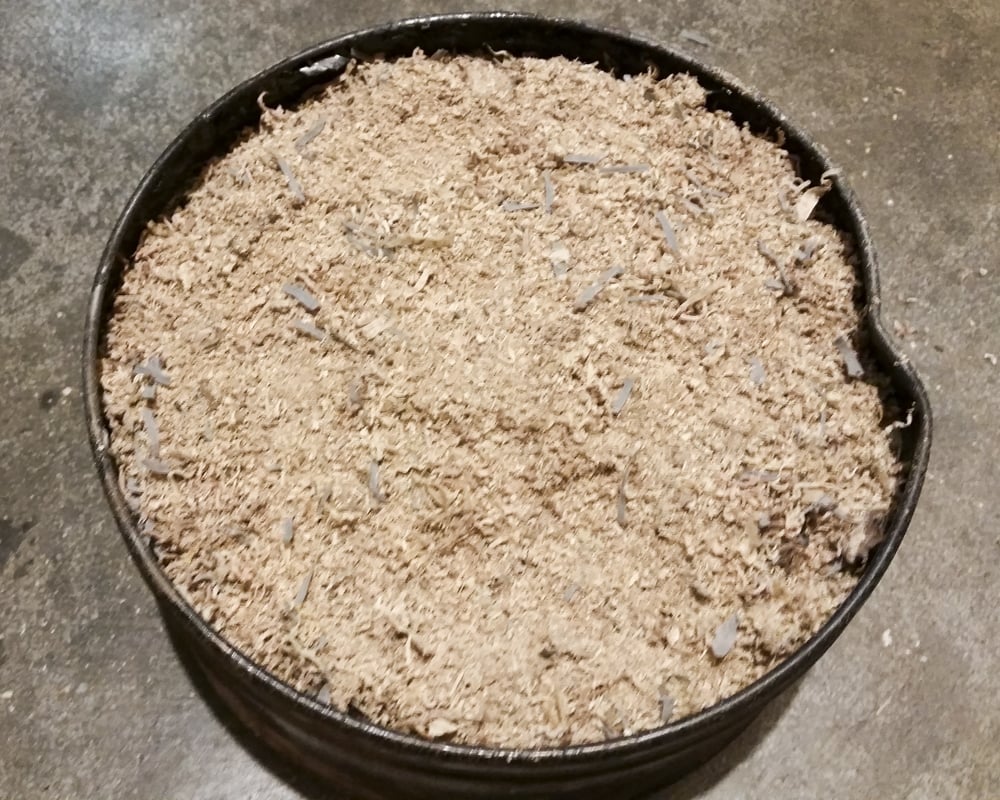
Finish up by packing the rest of the area in the tin with sawdust.
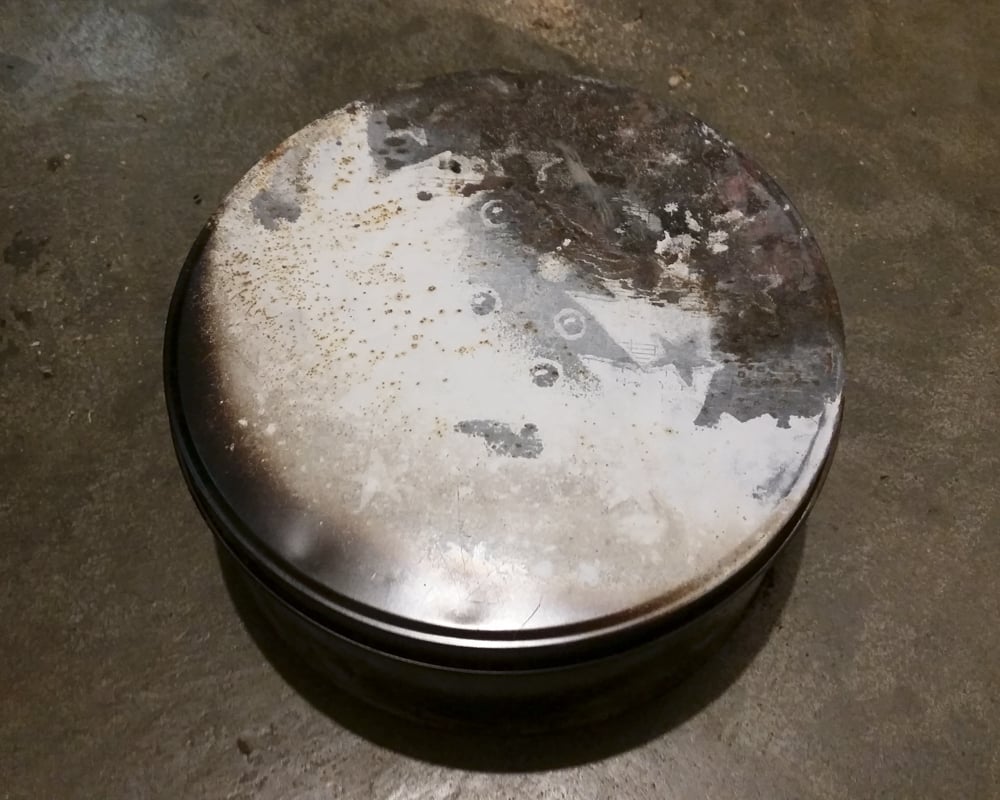
Replace the lid securely and....
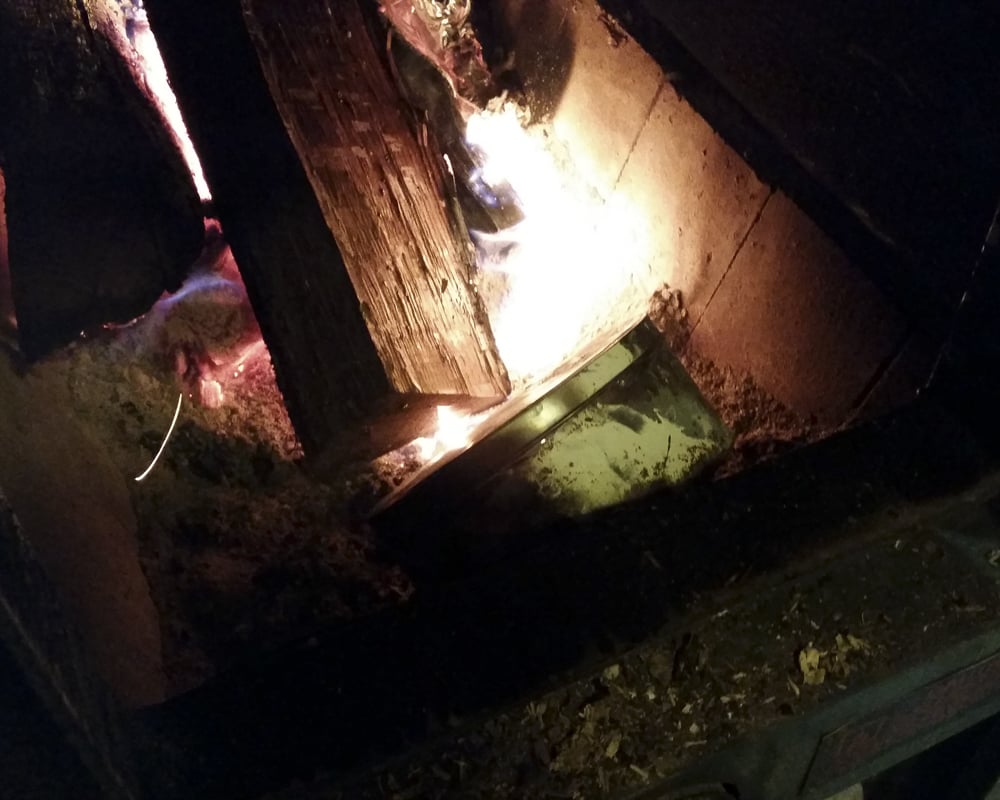
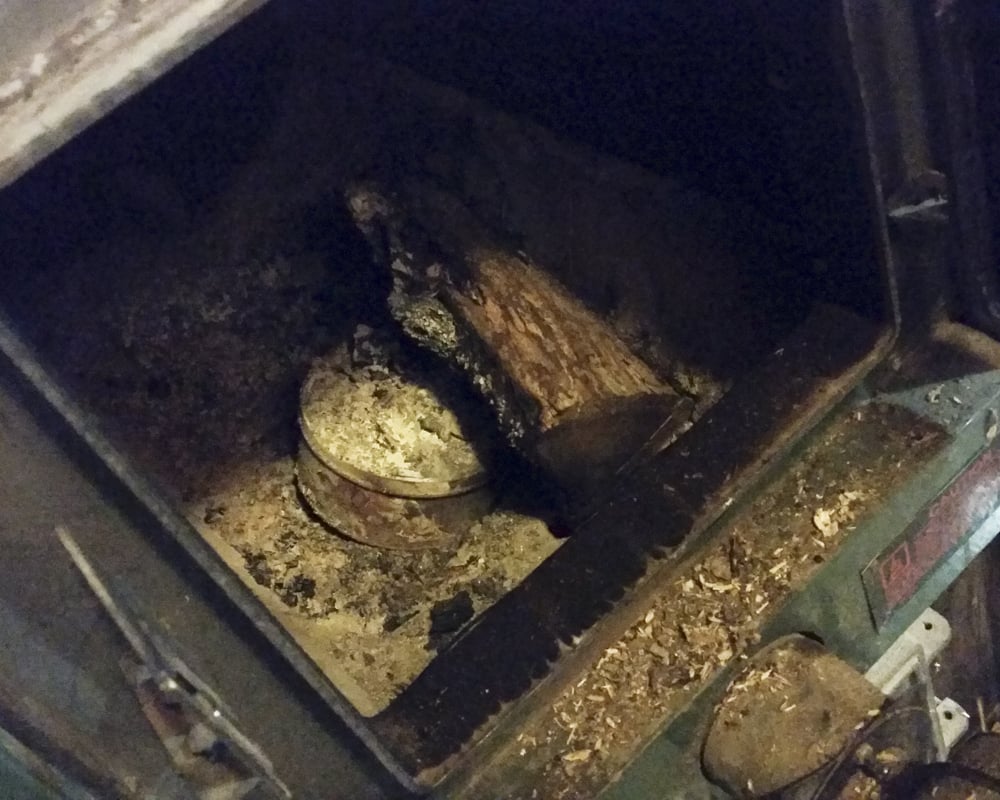
Put in your wood stove. Do not place the tin directly in the coals/flame area at first. The fire will heat up the clay too fast and there will be the possiblity of any water in the clay boiling, causing the clay birds to explode.
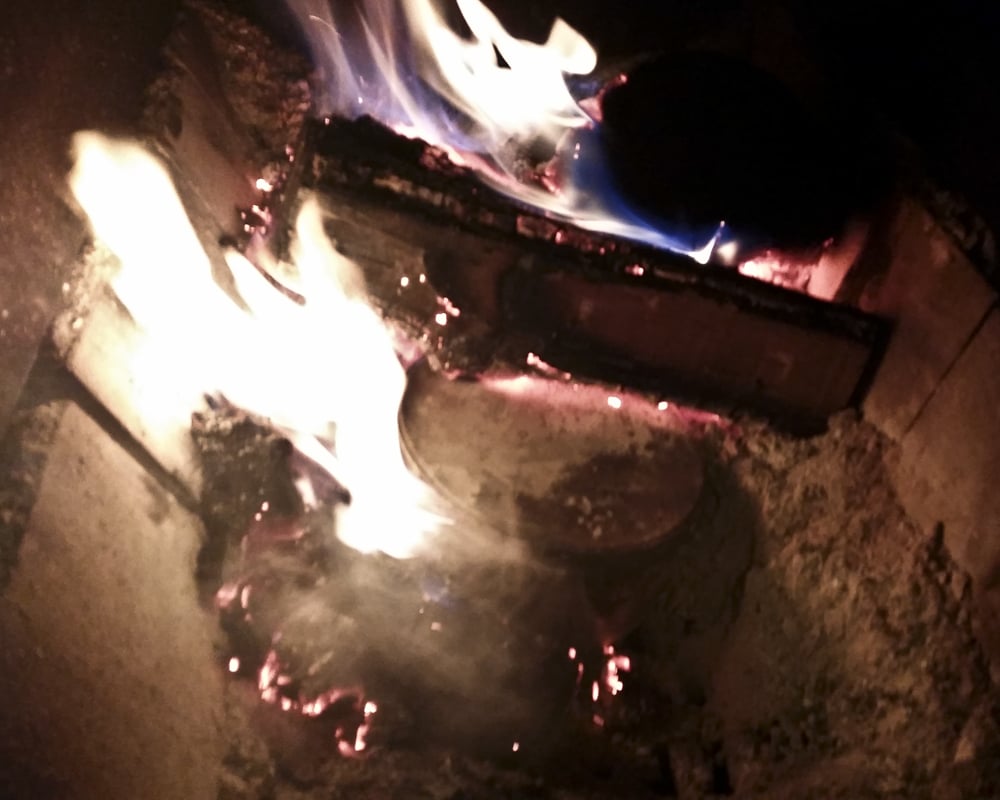
Right before you go to bed (and after a couple hours in the pre-heat zone) put the tine into the fire and cover with logs, coals etc. Each wood stove is different - do what feels the best to you.
The next morning - pull out your tin, especially if your fire went out - if you still have fire, pull to a safe zone to cool withing your stove, wait and pull out safely.
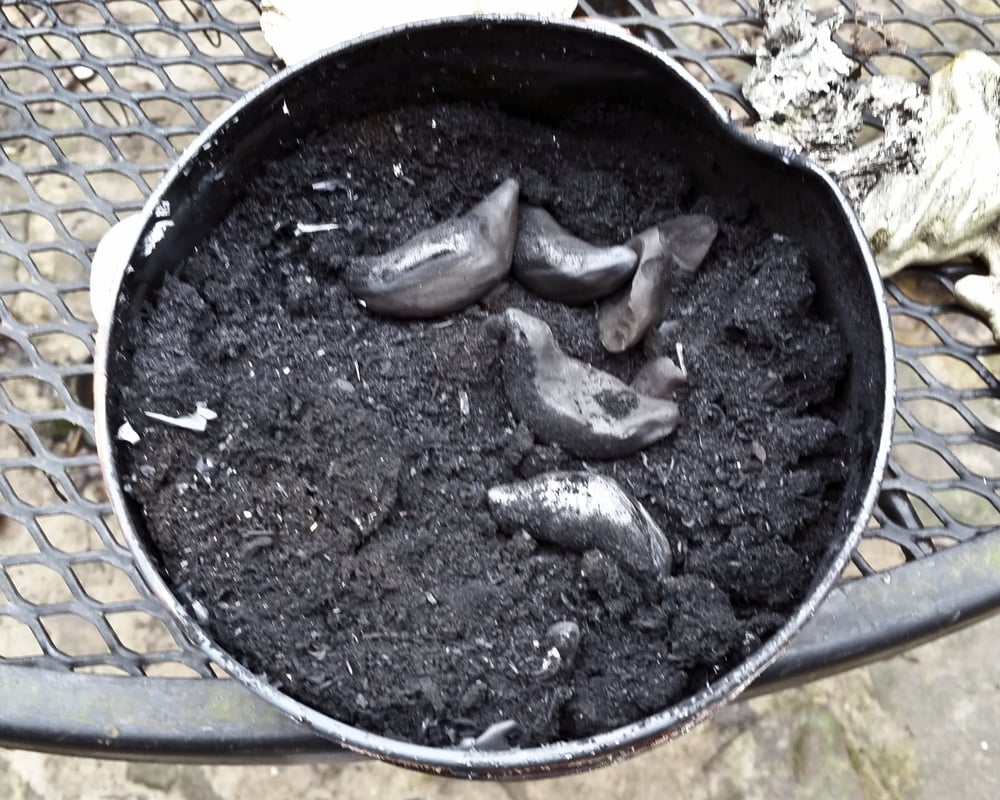
Open the lid and see what you have!
OOPS! In this case, I did have exploding birds. It can be anything: a little damp still, fire got too close too fast....I did notice that the breakage happened in the bottom layer....
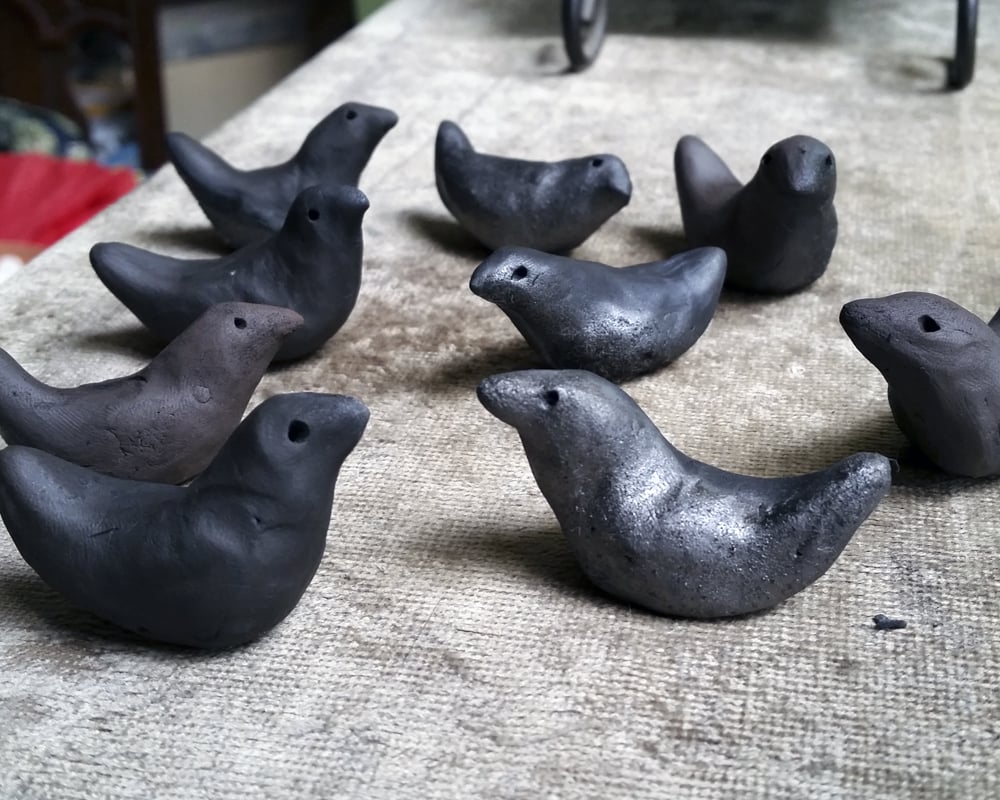
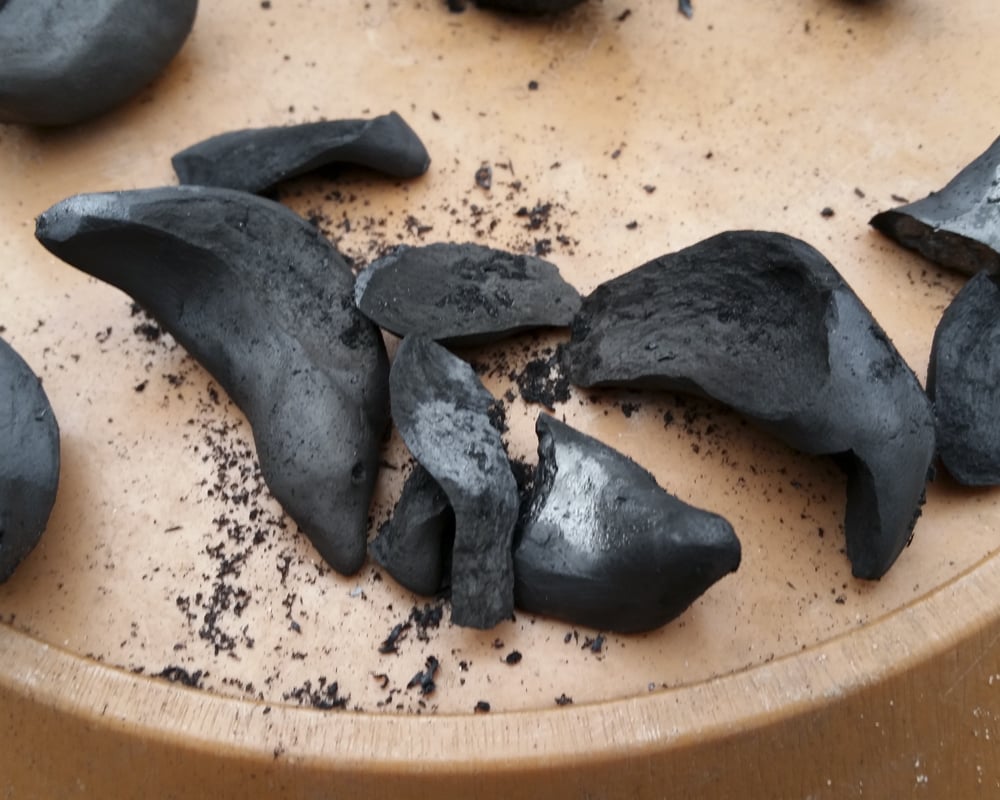
Wipe away any ashes that cling, and set out for display! Enjoy! You did it! Give me a holler if you have questions and show me your results!